
Transport Fever 3 signals explained: one-way signals, block sections, passing loops, and the single-to-double-track upgrade path. TF3 specifics pending.
Transport Fever 3 Signals: How Do You Go From Single Track to Double Track?
Quick answer: start every new rail line as single track with passing loops, set all signals to one-way, and upgrade to full double track once traffic pays for it. The signaling principles below come from the series manuals and still apply, because Urban Games has published no TF3-specific signal overhaul. Anything TF3-exclusive about signals is marked pending launch verification.
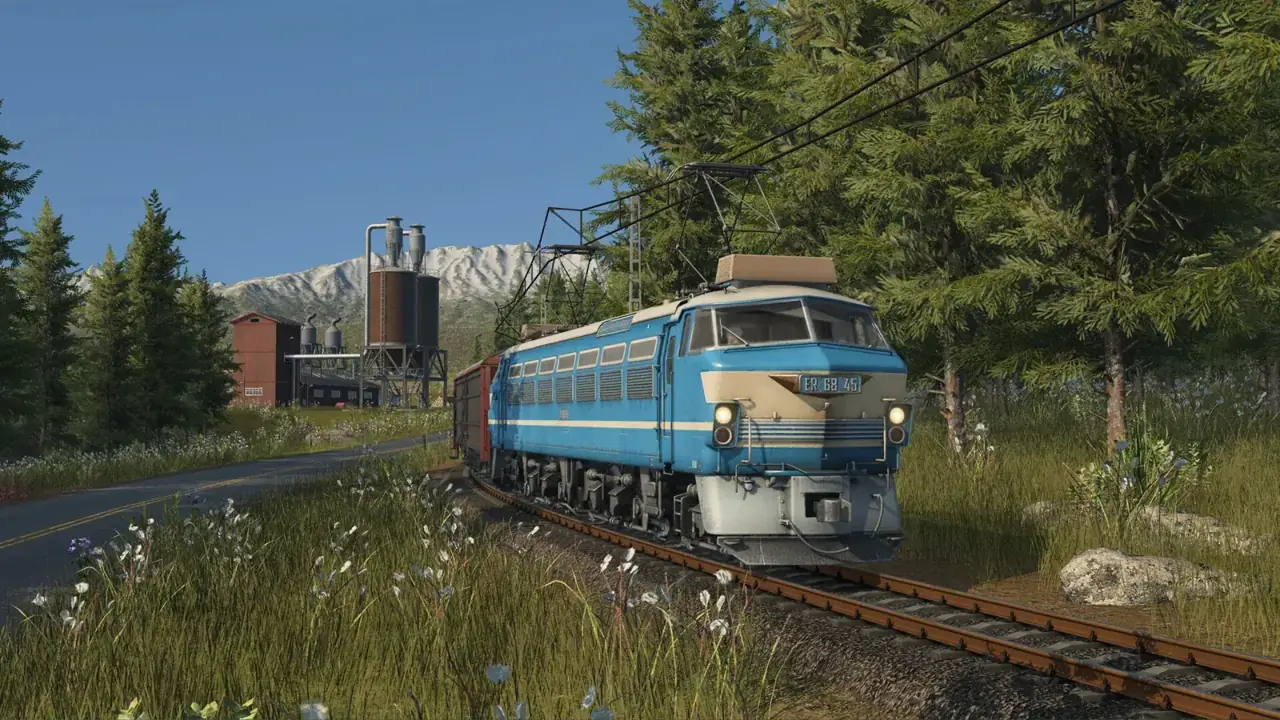
What Signals Actually Do
Signals chop a rail network into block sections so more than one train can use the line safely. One block holds one train. No signal, no sharing: a second train waits until the first clears the section. That single sentence explains nearly every signal problem new players hit.
The series-standard signal, documented in the official Transport Fever 2 manual, splits track into smaller parts so multiple vehicles can drive around safely. Set a signal to one-way and traffic on that stretch flows in a single direction.
Official source: Railway Signals - Transport Fever 2 Wiki
Two habits prevent most disasters. First, default every signal to one-way; two-way single track without passing loops is how head-on deadlocks happen. Second, place signals only in the direction of travel before junctions on double-track stretches, never behind them, a rule the classic community signaling guide has taught since the first game.
Official source: Transport Fever Signalling Guide
Single Track With Passing Loops
Single track is the correct way to open almost any rail line. It costs roughly half the double-track price, and early-game cash flow decides more games than perfect throughput does. The setup that works: one track between two stations, with a passing loop (a short doubled section) near the middle, and one-way signals guarding each entry to the loop.
Run one train and you need no signals at all. Add a second train and the loop plus four one-way signals let them pass each other without meeting head-on. Add a third or fourth train and you add more loops or accept waiting time. The community single-track railway writeup for the previous game lays out exactly this progression, and nothing announced for TF3 contradicts it.
| Setup | Trains Supported | Cost | When to Use It |
|---|---|---|---|
| Plain single track, no signals | 1 | Lowest | Brand-new line, testing demand |
| Single track with one passing loop | 2 | Low | Early profit phase |
| Single track with multiple loops | 3 to 4 | Medium | Growing line before double-track money exists |
| Full double track, one-way both sides | 5+ | High | Mature corridor |
Space loops roughly evenly so no single block becomes a long wait. Keep each block long enough for your longest train plus braking distance, or trains queue at loop entries instead of flowing.
On double track, each signal belongs before the junction it protects, facing the direction of travel. A signal placed just past a junction guards nothing and can freeze the junction behind it. Walk the line in the driving direction when checking your work.
Upgrading to Double Track
The upgrade moment arrives when waiting time at loops starts eating the profit that a third or fourth train should bring. Double track means two parallel tracks, each signaled one-way in its own direction, so trains never meet head-on and junctions become the only conflict points left.
Build the second track alongside the first, mirror the stations with a second platform edge where the station supports it, and convert every signal to one-way facing its track's direction. Check each junction: with double track, crossing moves need signals that hold one train clear while another crosses. The old Transport Fever signaling manual describes configuring tracks for left-hand or right-hand running, so pick one convention per network and stick with it.
Official source: Signaling guide
Modular stations in TF3 should make the platform side of this upgrade less painful than in earlier games, though the exact station upgrade flow is still pending launch verification. The most common upgrade mistake is doubling the open track but leaving a single-track station throat, which moves the bottleneck instead of removing it. Corridors that also push freight into town can shed load onto cargo tram tracks instead of forcing every goods consist through the same throats.
A doubled main line feeding a single-track station entrance keeps every deadlock you tried to escape. Upgrade station entries and exits in the same project as the open track, or run fewer trains until you can afford both.
What TF3 Changes (and What Is Unconfirmed)
Confirmed: TF3 adds overtaking for trains and trucks, an upgraded rail network, and a stronger line manager, all listed among the official feature set. Smarter pathfinding is also widely reported by preview players, with one Steam discussion noting that trains handle routing sensibly enough that signaling feels easy to set up.
Official source: Pre-purchase Transport Fever 3 on Steam
Unconfirmed: no dev blog has covered signals specifically. Whether TF3 uses pure block signals, path-based reservation, or something hybrid is unknown. Signal spacing rules, junction signal behavior, and any new signal types are all pending launch verification. The day-night timetable side of scheduling is equally pre-launch, so treat this page as the track-layout half of a picture whose second half arrives after release.
Overtaking deserves a caution. If trains can pass each other on plain double track, the classic express-behind-local jam may solve itself, but it may also create new signal interactions at the passing points. Do not design a launch-day mega-network around overtaking assumptions. Build simple, observe, then optimize.
Debugging a Jammed Line
When trains stop moving, diagnose in this order: a head-on deadlock on two-way track, a train too long for its block, a missing one-way flag letting a train enter against the flow, and finally a junction with no exit signal. Nine out of ten jams are one of these four, and all four are visible by following the stopped trains rather than by rebuilding blindly.
If freight trains specifically refuse to load while passenger trains run fine, the problem is usually not signals at all. Cargo only moves where demand exists along the whole chain, which is a different system covered by the cargo troubleshooting flow and the broader vehicle roster logic in the vehicles overview. Fixing signals on a line with no demand underneath wastes an evening.
A perfectly signaled line carrying nothing still earns nothing. If trains run but stay empty, verify town and industry demand first. Signals solve throughput, never demand.
Frequently Asked Questions
Do I need signals on a single-train line?
No. One train on plain single track can never meet itself. Add signals only when the second train arrives, starting with a passing loop guarded by one-way signals.
Should signals be one-way or two-way?
One-way, nearly always. Two-way signals let trains enter a block from both ends, which recreates the head-on deadlock that signals exist to prevent. The series manuals and community guides agree on this across all three games.
When should I upgrade from single to double track?
When loop waiting time visibly caps the line: three or four trains spending more time holding than hauling. Double track removes meetings entirely but roughly doubles construction cost, so let the line's own profit fund the upgrade.
Does Transport Fever 3 change how signals work?
No signal-specific changes have been announced. Confirmed adjacent improvements include train overtaking, an upgraded rail network, and a stronger line manager. The exact signal mechanics are pending launch verification, so series-standard principles are the safe baseline.
Why do my trains deadlock at junctions?
Usually a missing one-way flag, a block shorter than the train using it, or a doubled main line feeding a single-track station throat. Walk the junction in the direction of travel and check every entry signal before rebuilding anything.
More Transport Fever 3 Guides
Helicopters are new in Transport Fever 3, with the Sikorsky S-76 confirmed. What they are good for, what they cannot do, and costs still unconfirmed.
How money works in Transport Fever 3: delivery income, running costs, full loads, and the route habits that turn thin lines profitable.
Transport Fever 3 landmarks grant area bonuses tied to headquarters and company rank. Confirmed landmarks, how bonuses work, and subsidy details still pending.
Transport Fever 3 loans and contracts explained: dynamic borrowing, risk-versus-reward deals, and rules for debt that builds instead of kills.
Transport Fever 3 mods run through an in-game browser with cross-platform support. Learn Curated Mods, mod.io, and Workshop status.
Cut noise and pollution in Transport Fever 3: barriers, trees, underground rail and fleet maintenance. Pre-launch guide.
Transport Fever 3 offshore oil and fishing guide: rigs, fishing grounds, ships and climate limits for sea supply chains. Pre-launch.
Fix Transport Fever 3 lag and stutter: graphics settings that help, CPU bottleneck advice, and late-game slowdown cures that work.